Wednesday, February 20, 2013

The Way is Shut


I got a bug today to paint some Army of the Dead miniatures. The first two are from years ago when I first attempted them. They are the typical grey, with the green washes.


Although I was not unhappy with the way these came out (especially considering my capabilities at the time) I never liked that they were just grey and green. In the movie you can see colors every now and then (especially with the King of the Dead). I wanted to attempt to relay that in the miniatures. So I painted and highlighted the minature like I would normally. I followed the same grey and green wash and highlight procedure for the face and hands. Then I drybrushed the entire model with green, attempting to heavily accent some areas and get a good covering on the rest. Although the greens do not show up to well in the photos, I think you can get the idea. I may try and take new pictures with some better lighting, but for now here it is:


Overall, I like it better and I will probably continue to paint them in this fashion.

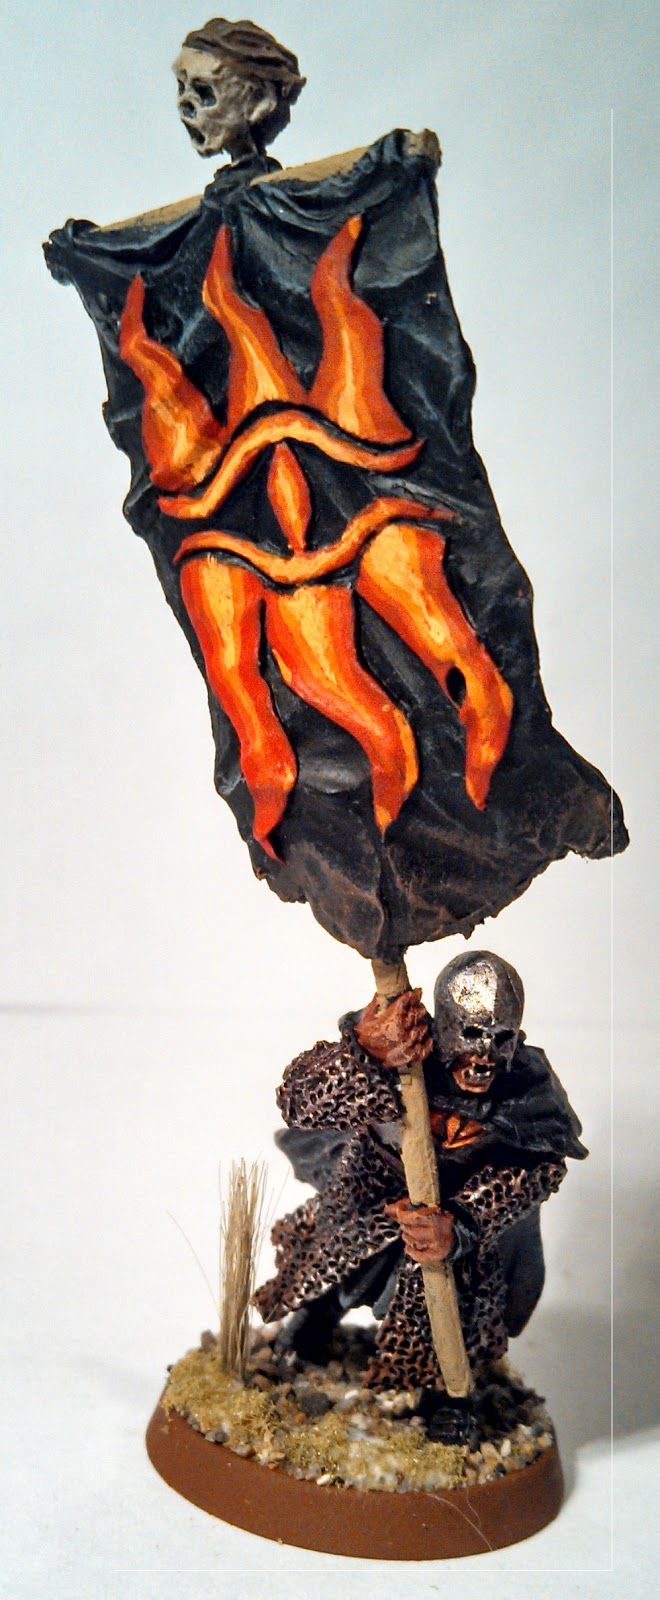
Just finished another one on my lunch break.
 

Another one for the ranks.
 

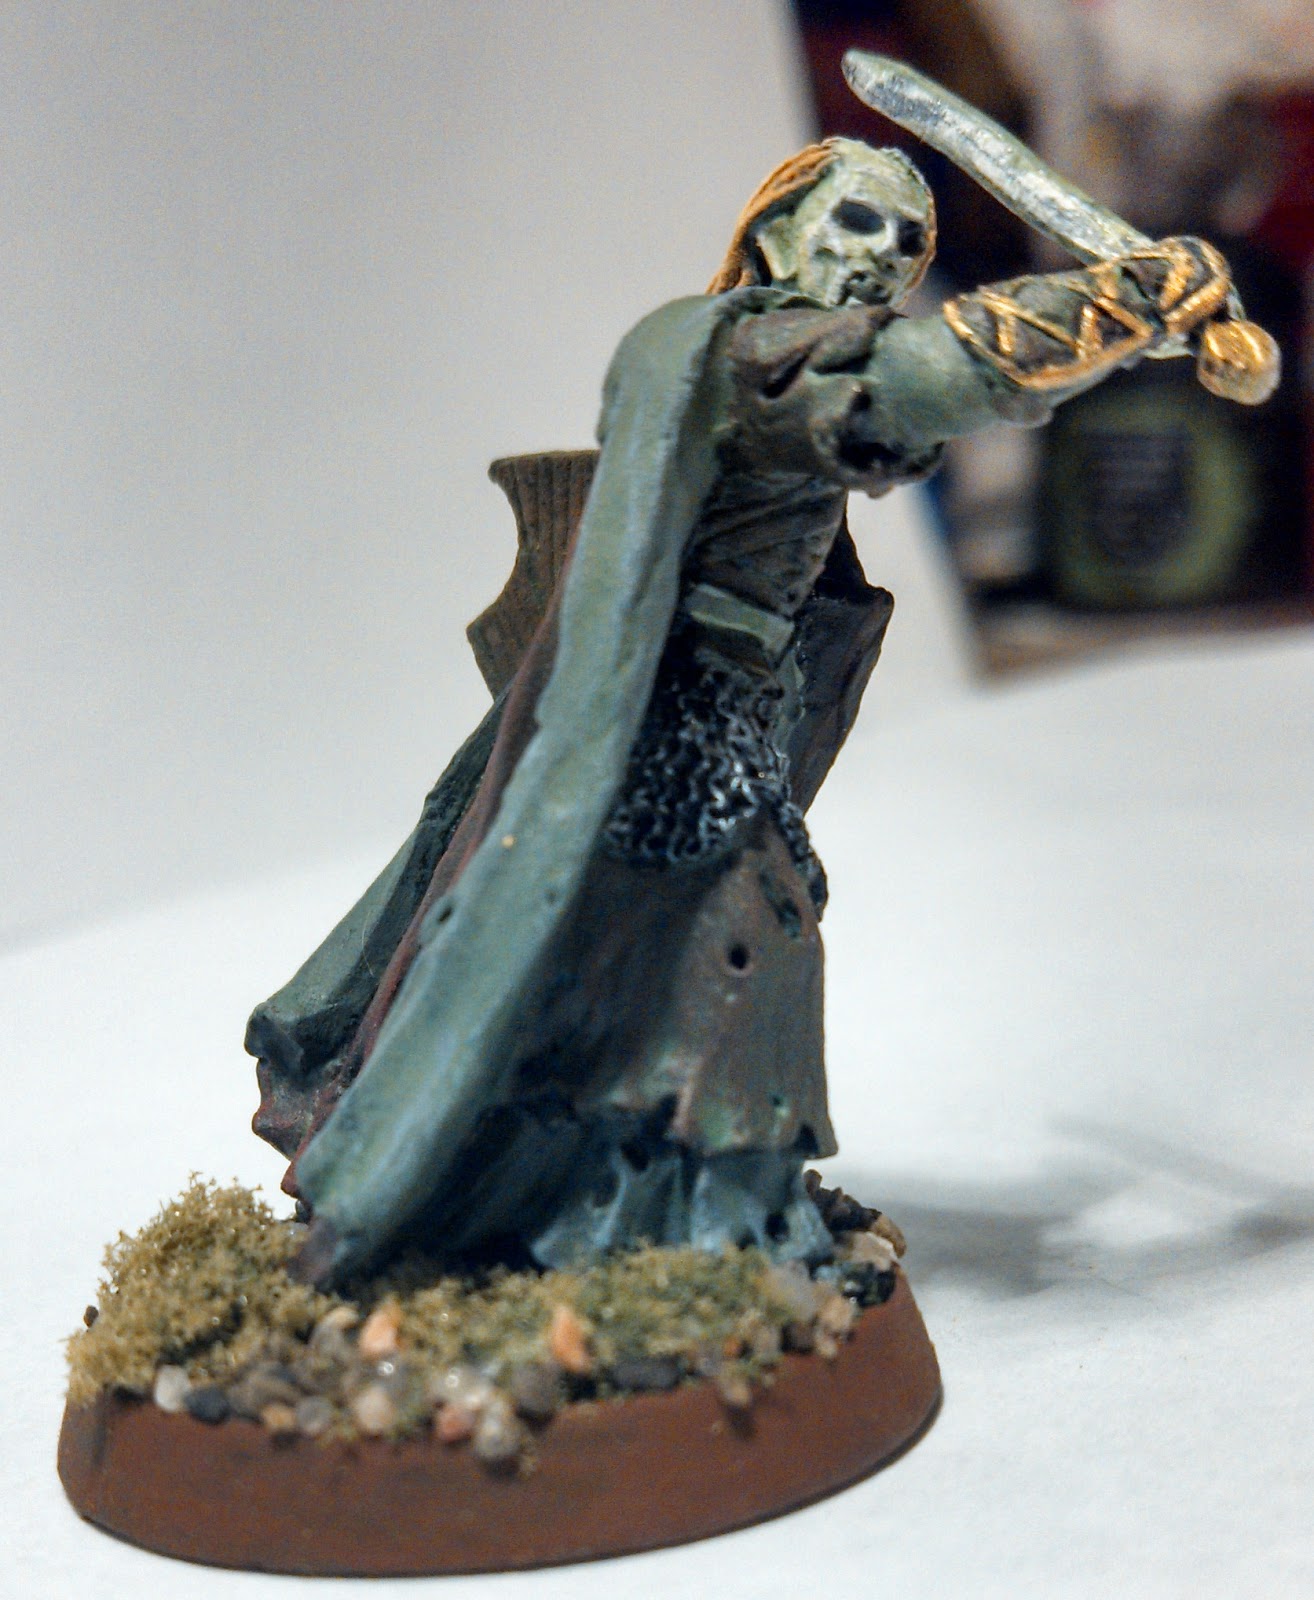
Here is a look at the warrior prior to the wash with green:


And after:


The army, it's coming along.


-Randy

Tuesday, February 19, 2013

Where the Shadows Lie


Black Gaurd or Cirith Ungol:


The drummer came out alright, although I really do not like this finecast stuff. I need to see if I can't patch those holes in the drum skin.
 

I really like the way the captain came out. 


Update. Finished with the banner bearer.


Update: I wanted to try another one of the Black Gaurd of Barad-dur, with a little bit more technical paint work. "I was so excited that these were finecast and not metal", said nobody, ever. Needless to say these are a bit more diffuclt to work with. Anyway, here is the final product, with some freehand work on the back of the cloak.


Ok. This is another paint job I did that was inspired by the painting of DMS, you can find his work here: thedeadmarshes.com.

In the past, I never liked the banners that didn't have raised sections to paint because I wasn't any good a freehand. But I am slowly (very slowly) progressing at the skill. Here is my latest orc banner bearer:
 

As always, let me know what you think!

I wanted to take a crack at some more freehand work, so I painted this orc up.


-Randy

Numenor

Ok. So for this soldier, I wanted to go with more of a regal look. As a general rule, I suck at painting white clothes, I am trying to get better at it, but its a slow process considering that I avoid doing it. haha. Sort of a catch 22 I have going on. Anyway, here is my attempt at a Soldier of Gondor with white tunic, with yellow highlights. Let me know what you think.

-Randy


Thursday, February 14, 2013

Fog on the Barrow Downs

Ok. I got an urge to paint up a Barrow Wight in a different color scheme. Years ago I painted the two different poses of the barrow wights similar to the GW colors.


They are nothing spectacular, but I thought they were good considering my skill level at the time.

I tried to show some improvement with this one. The green didn't show up overly well in these photos. I may try and shoot it again when I have better lighting. I also mixed a fair amount of green in with the metals to give it a bit of a mouldy look.


Thanks for reading,

-Randy


Conversion Attempt

OK. So this was my first attempt at a conversion. I believe it to be a rather simple one. I used one of the elves from the "Warriors of the Last Alliance" boxed set, one with a sword. I Cut off the arms and positioned them so he was holding the sword horizontally at chest level. I ended up having to cut the arms at the shoulder and then the elf's right hand at the wrist to reposition it slightly. I used the hand drill to drill holes for pins and greenstuffed the joints. Not a very good job of greenstuffing, but I am the definition of a novice. I think it is pretty well hidden though. I didn't realize how little greenstuff it would take, and how far you can make a little greenstuff go, so I used the excess to create some floor masonry.

 
The first picture is clearly the original pose, the second is my conversion.

My initial plan was to go with the typical paint scheme from the movie (blue and gold, with blue and grey cloak). However, I was cruzing around DMS's website, and I was very much inspired by the scheme he used for his Beleriand elves. If you haven't been to the Dead Marshes yet, you really need to check out his work. Probably the most outstanding stuff I have ever seen. Here is the path through the Emyn Muil:  http://www.thedeadmarshes.com/
And the elevs can be found here: http://www.thedeadmarshes.com/p/imladris.html

With that in mind, I also wanted to do a battle scene. With my novice capabilities at converting, I chose a Mordor Orc that would require little work. In fact, all I did was cut the weapon, and reposition the arm. Then I cut out a gash in his midsection that I could fit the elf blade in to. I used the hand drill to drill a hole into the base and into his foot. I cut a paper clip to use as a wire to support the weight of the orc so that it is not all on the blade and subsuquently the wrist joint of the elf.

The look I was hoping for is one where the orc attacks and the elf makes a side long sweeping cut that slices through the shaft of the orcs spear and lodges in his midsection with enough force to topple him over backwards. I think I captured that but you can be the judge.


Thanks for reading,

-Randy


Tuesday, February 12, 2013

Fangorn Forest

Update: I just finished my first Ent from Majestic Bear Miniatures. You can check out Dave's work at www.majesticbear.net. This miniature (Birch Tree Ent)was an absolute pleasure to paint and assemble. Just a few pieces that I had to drill and pin to hold together. I put it in the case next to Treebeard and it fits right in with the GW model. The detail on this miniature is amazing, and I am already looking forward to getting the other two to add to the collection. Many thanks to Dave for creating an excellent model.


I finished Treebear on my lunch break today (benefit of being able to work from home!). I bought this immediatly when it came out, and tried to assemble it with just glue. Very bad idea. The glue just can't support the weight of the metal arms.

Luckily, as mentioned in a previous post, I got a hold of a hand drill recently. I used a pair of wire cutters to cut pins out of finishing nails. These were strong enough to support the weight of the arms and hold really nice.

After that it was a little bit of greenstuff around the edges. I painted the main model first, and painted the branches and leaves while they were still on the sprue. Its easier for me to do it that way and attach the peices later. That way I can get in a paint what would be the otherwise hard to reach places.

I still have to paint Merry and Pippen. I will post more pictures when they are finished.

-Randy