First of all I must say I have been overwhelmed by the response to my last about my Rivendell Knight. Thanks so much for the support. It had 300 views in 12 hours and this week will probably end up taking over the second most post I have (which is currently occupied by a post I made over two years ago). The mini is currently stuck at 38 votes on CMON so if you have a second to register a vote I would greatly appreciate it and you can do so HERE.
Not a painted miniature for this post, but its related. I thought I would take you through my process for building painting jigs. I was tired of always having to hold the miniature by the model itself and scrape off paint, or attach the model to a base so I could paint it, because I usually make scenic bases after painting the model. I saw something similar to these somewhere and decided they were easy enough to build so I built my own. Shadow of Shadow and Flame recently asked me for some more so I built three different styles: A single mini jig (SMJ) with one bolt, a multi-mini jig (MMJ) with two bolts, and a half single mini jig for sculpting (HMJ) for Flame to try out and see how it works.
First step is to buy the proper material for the jigs.
NOTE: all measurements here are giving in the completely nonsensical English units metric makes way too much sense to be used by 'Murica. So for my more sensible metric-using friends 1 inch (1") = 2.54cm.
Also, you can go to Online Conversion to convert any measurements here into what ever you want, so, for example, if you decide to make all your measurements in Furlongs, these guys have you covered.
1. Any length of 1 1/2" x 3/4" pine board (they make these out of all different wood but pine is cheapest)
2. 2" x 1/4" bolts with one nut and two washers per bolt.
3. miter box and saw (optional) any hand saw or electric saw will work
4. drill press (optional) any electric drill will work
5. 1/4" drill bit
I marked off the jigs into 2" sections for SMJs, 4" sections for MMJs, and 1" for HMJs. I have a miter box set up for cutting straight lines. Its not imperative that the lines are straight, but it makes for nicer jigs that are easier to work with. Cut the board up into the proper lengths, two pieces for each jig, for however many you need.

Side note: fishing gear and goose decoys pictured here are also an optional part of this process. Here is what they should look like when all cut up (except the HMJ is not pictured here):


The next step is to mark off and drill your holes for the bolts. for SMJs the hole is right in the center, 3/4" down and 1" in from the edge. For MMJs they are 3/4" down from the top and each bolt is measured 1" in from the outside. For HMJs the hole is 1/2" in and 3/4" down. OK, for this step I used a drill press and drill press vise. Again, this is completely optional, any electrical drill will work. However the drill press affords you the opportunity to drill straight holes which will allow the jig blocks to move more easily along the bolt. Clamp both halves of the jig into the vise and drill through both at the same time (to ensure the holes line up properly) with a 1/4" drill bit. IMPORTANT: For the MMJs, after drilling the first hole, run the bolt through the hole to hold the halves in place. This will ensure that the two haves don't slip any when you move to drill the other hole and the jigs will slide along each bolt much more easily.

We are getting there now. Put a washer on one end of the bolt and run it through the jig halves. Place another washer on the other end and then the nut. The size of the washer is optional. I think I used 7/8", but the bigger the diameter of the washer the more surface area of the jig sides it will apply pressure to when you tighten down the nut. I haven't had any problems with the size I am using, but you can't go wrong with larger ones:
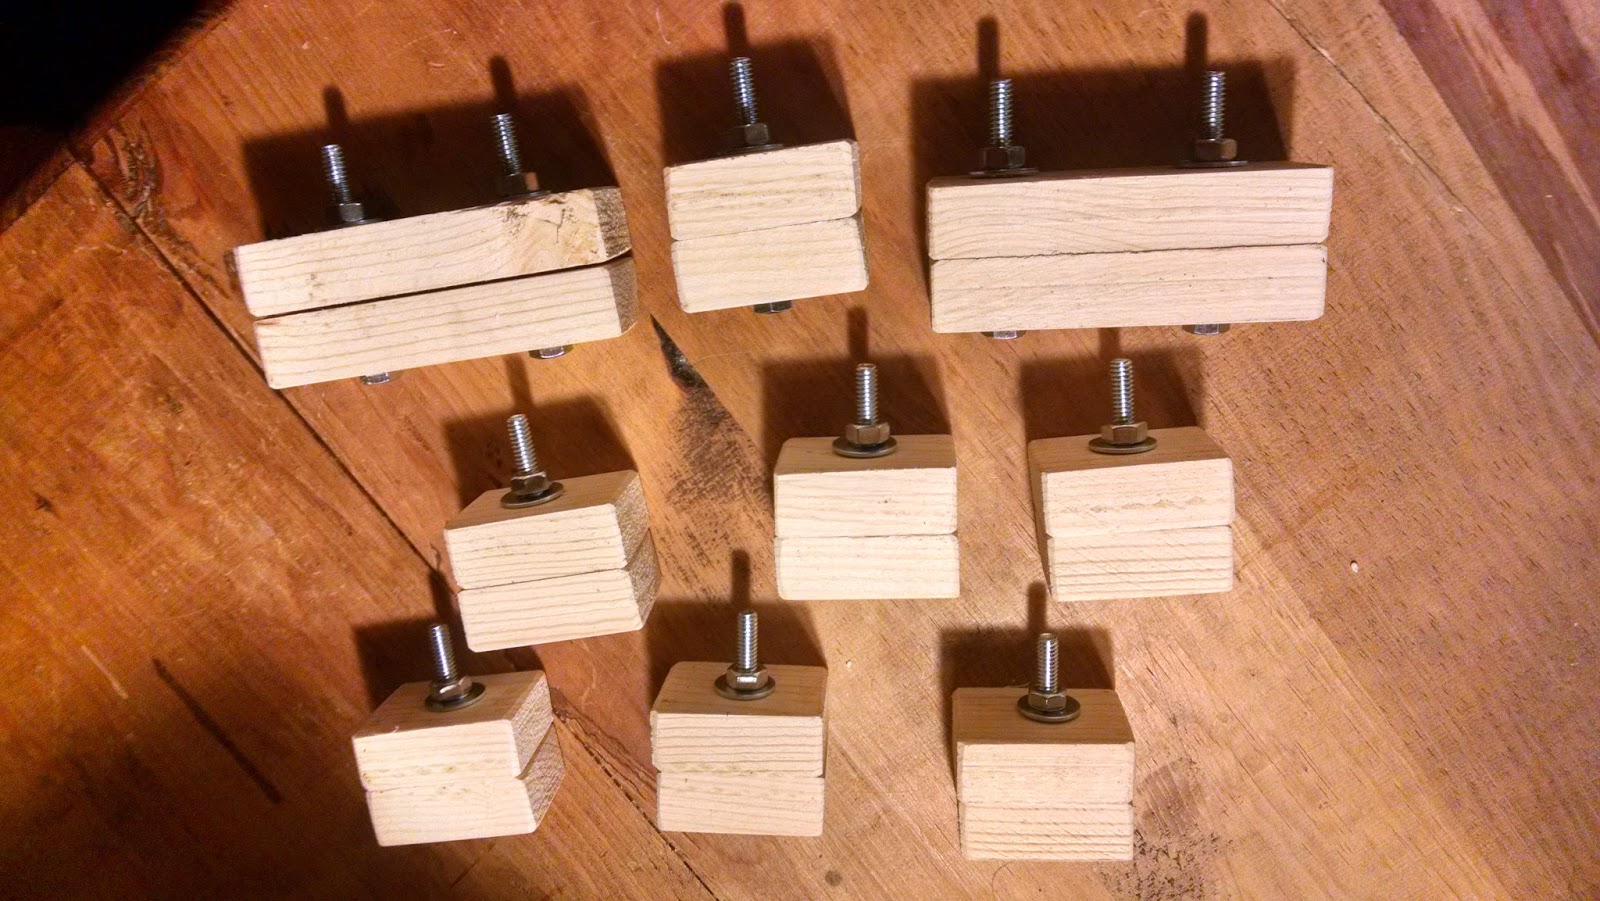
Note: Pictured here are actually 2 1/2" bolts. They are good because you can open the jigs up further if you need to. However, this particular type of bolt is not threaded all the way to the top so the nut just barely holds the jig edges together. I like the 2" better. You just want to make sure that when the jig is closed on your mini you have threads sticking out of the side, and not the threaded part if you get that type of bolt.
Here is a picture of a jig in action, I know, breathtaking to see it work isn't it?

Final step: Congratulate yourself on a job well done, then slap a miniature in there and sling some paint at it.
I have a few miniatures I need to get photographed and uploaded so hopefully I'll have something new up here this week. In the meantime, I hope you found this useful.
